ENG | MikroTik hAP ax S / E62iUGS-2axD5axT initial setup.
Configuring Mikrotik hAP ax S router with broken Quick setup.
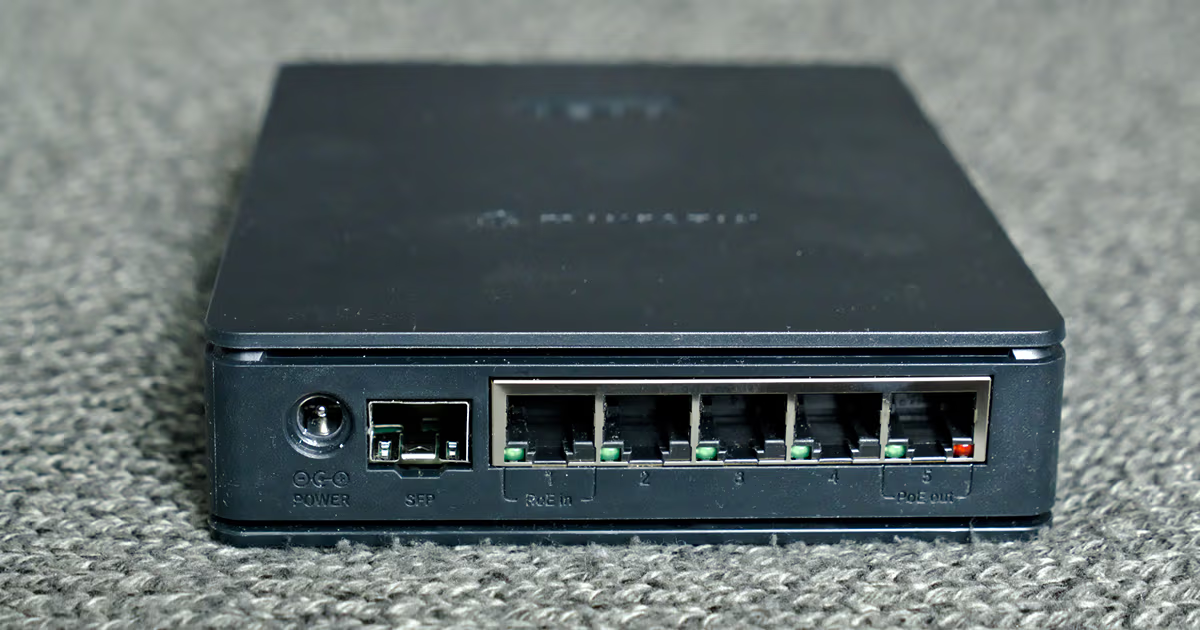
This article are basically personal notes specific to my configuation. Only thing you can take from this is that Mikrotik hAP ax S / E62iUGS-2axD5axT quick setup page is broken and change of IP adress requires to change DHCP pool, DHCP network and actual IP address of bridge.
I got new Mikrotik router, because my old hAP ax² had issues with two ports working only at 100mbit if at all so I returned it at the very end of two years warranty.
I assumed that configuring new one would be easy. Well. Start is
- Connect power to UPS
- Connect port 1 to cable modem via UPS (for power surge protection), computers to other ports
- Default IP is
192.168.88.1, useradmin, password on a sticker - First thing to do is forced password change
- Download new firmware
- Specific to Vodafone CH7465VF modem:
- Route to
192.168.0.1still exists - Disable wifi on cable modem
- Enable bridge mode
- Route to
At this point everything works. Until you touch quick set page which is broken - it shows invalid defaults on WAN (fixed ip, invalid gateway) and also invalid defaults for LAN (no NAT, DHCP, …). Clearly firmware issue as of summer 2026.
After some battle, I configured it basically from old configs obtained by /export show-sensitive file=hapax2-20260619 in the terminal. DHCP pool name changed, so once PC got new IP address assigned it could not connect to network. Configuring DHCP Pool outside of DHCP in graphic client is also weird and easy to miss.
In the end config is
Network and DHCP
1
2
3
4
5
/ip address set [find interface=bridge] address=192.168.68.1/24 network=192.168.68.0
# Note: different from hAP ax² name=dhcp
/ip pool set [find name=default-dhcp] ranges=192.168.68.10-192.168.68.254
/ip dhcp-server network set [find comment=defconf] address=192.168.68.0/24 gateway=192.168.68.1 dns-server=192.168.68.1
/ip dns static set [find name=router.lan] address=192.168.68.1
Static DHCP for home server
1
2
/ip dhcp-server lease
add address=192.168.68.10 client-id=1:90:1b:e:ca:93:3e comment=esprimo mac-address=90:1B:0E:CA:93:3E server=defconf
Route for modem at 192.168.100.1
1
/ip/route add comment="Compal Modem in bridge mode" disabled=no distance=1 dst-address=192.168.100.0/24 gateway=192.168.100.1%ether1 pref-src="" routing-table=main
Allow SSH forwarding
This was explained in a separate article.
1
2
3
4
5
6
7
8
/ip firewall nat
add action=dst-nat chain=dstnat comment="SSH from outside" dst-port=2222 \
    in-interface-list=WAN protocol=tcp to-addresses=192.168.68.10 to-ports=22
add action=dst-nat chain=dstnat comment="SSH from inside" dst-port=2222 \
    in-interface-list=LAN protocol=tcp to-addresses=192.168.68.10 to-ports=22
add action=masquerade chain=srcnat comment="SSH from inside (snat)" \
    dst-address=192.168.68.10 dst-port=22 protocol=tcp src-address=\
    192.168.68.0/24
Enabled outgoing NTP (network time protocol) and deny internet access to 3D printer
Explained in another older article.
1
2
3
4
5
6
/ip firewall filter
add action=accept chain=forward comment="Allow NTP traffic" dst-port=123 \
    protocol=udp
add action=reject chain=forward comment="Block 3D printer internet access" \
    dst-address=!192.168.68.0/24 log=yes log-prefix=blocked-internet-access \
    reject-with=icmp-network-unreachable src-mac-address=80:65:99:C7:7C:F4
Watch outgoing SSH connections from server
This was for testing if botnet infection is gone. Don’t ask.
1
2
3
4
/ip firewall filter
add action=log chain=forward comment="Outbound SSH" connection-state=new \
    disabled=yes dst-port=22 log-prefix=NEW-SSH-OUT protocol=tcp src-address=\
    192.168.68.10
Wifi config
Replace passphrase xxxxxxxxxx by valid one.
1
2
3
4
5
6
7
8
9
/interface wifi
set [ find default-name=wifi1 ] channel.skip-dfs-channels=10min-cac \
    configuration.country=Czech .mode=ap .ssid=WirelessNest2 disabled=no \
    security.authentication-types=wpa2-psk,wpa3-psk .connect-priority=0 \
    .passphrase=xxxxxxxxxx
set [ find default-name=wifi2 ] channel.secondary-frequency=disabled \
    .skip-dfs-channels=10min-cac configuration.country=Czech .mode=ap .ssid=\
    WirelessNest5 disabled=no name=wifi5 security.authentication-types=\
    wpa2-psk,wpa3-psk .connect-priority=0 .passphrase=xxxxxxxxxx
Notes
These notes adopted uv tool for Python (to run mpremote), podman quadlets (systemctl to restart container).
- config transfer was not flawless: different wifi1,wifi2 so wifi names did not match frequency
- check Raspberry Pi Pico weather station for hardcoded server address (server has different subnet and ip address assigned by DHCP)
1
2
3
4
5
6
7
8
# Copy from pico
uv tool run mpremote cp :config.py config.py
# Edit
vim config.py
# Copy to pico
uv tool run mpremote cp config.py :config.py
# Remove temporary file
rm config.py
- renew PC/server IP by disconnecting and connecting cable
- restart cloudflare tunnel on server
1
systemctl --user restart cloudflare-tunnel.service - 2GHz wifi is configured as AX, but it runs in different modes
- maybe wifi is a bit more stable and running around 20mbit on balcony now
- there seems to be file transfers randomly stuck, same applies to claude code connection